

 |
 |
|||||||
| 1 | 2 | 3 | 4 | 5 | 6 | 7 | ||
May 4, 2006
Hi Lynn,
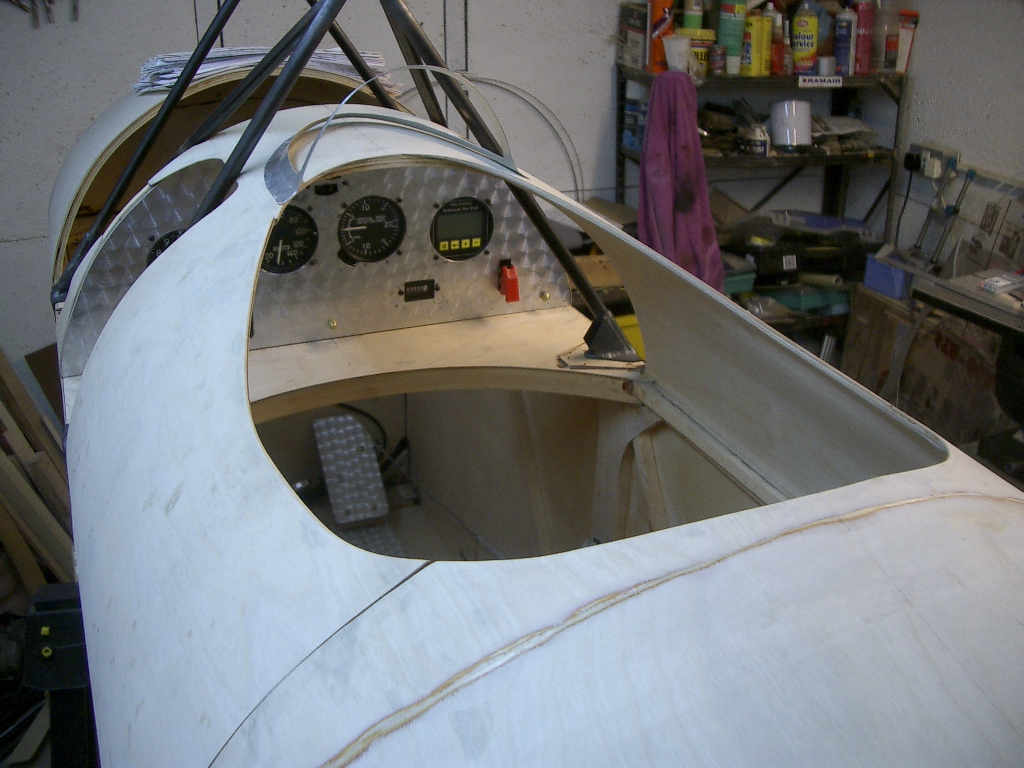
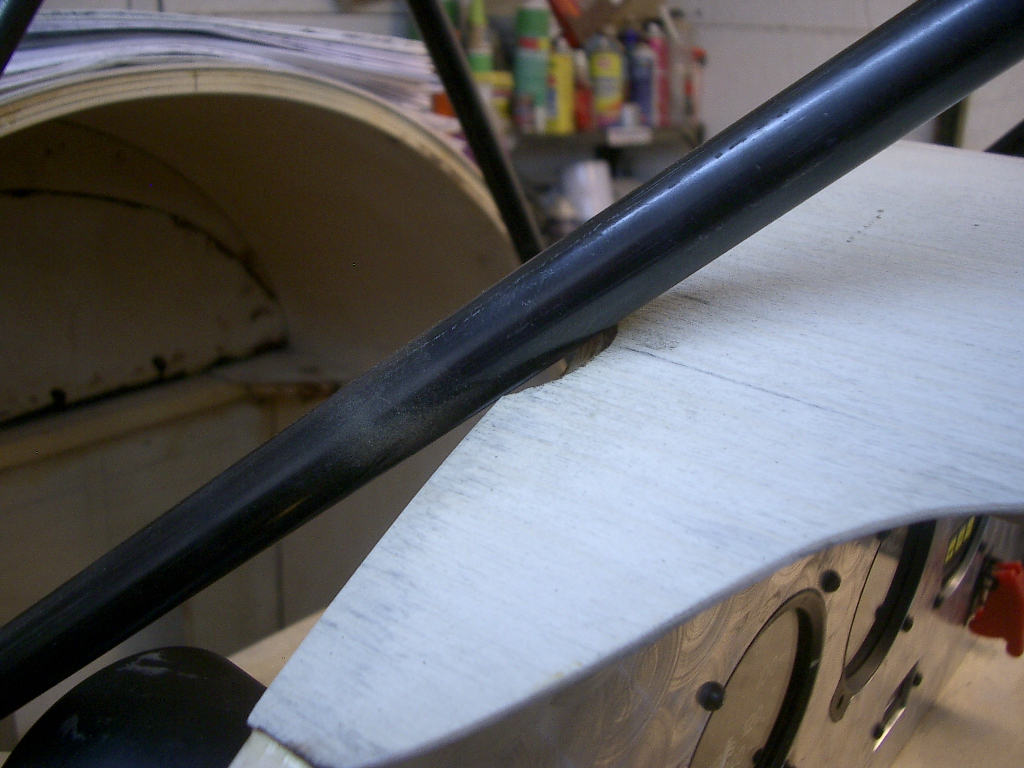
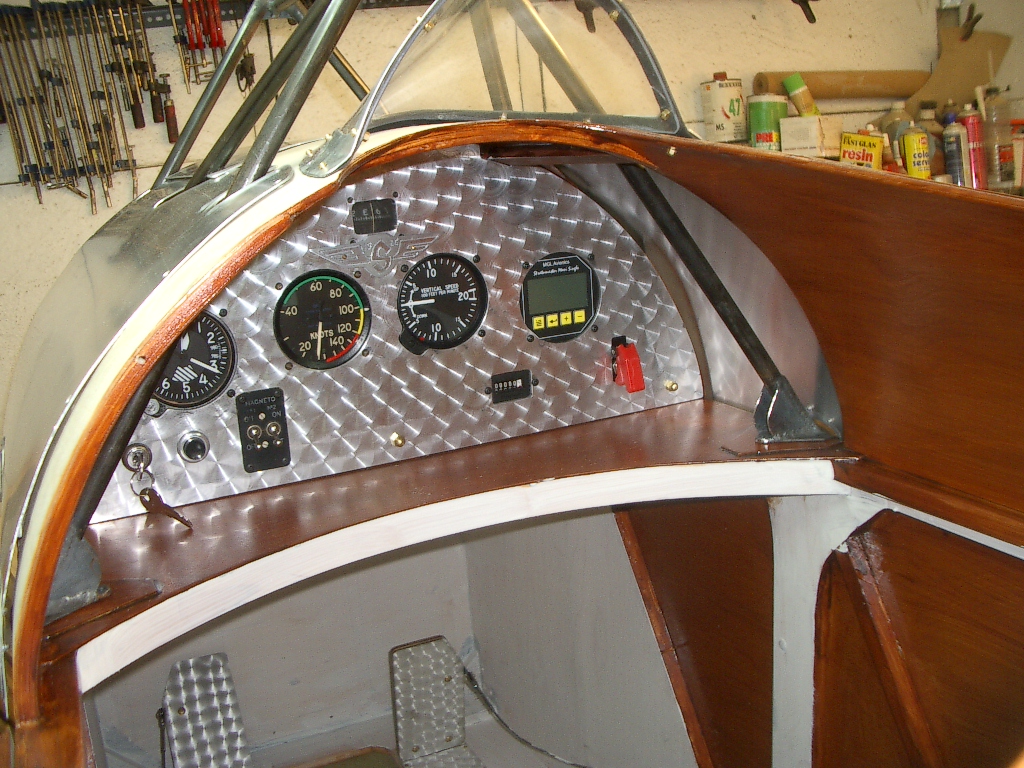
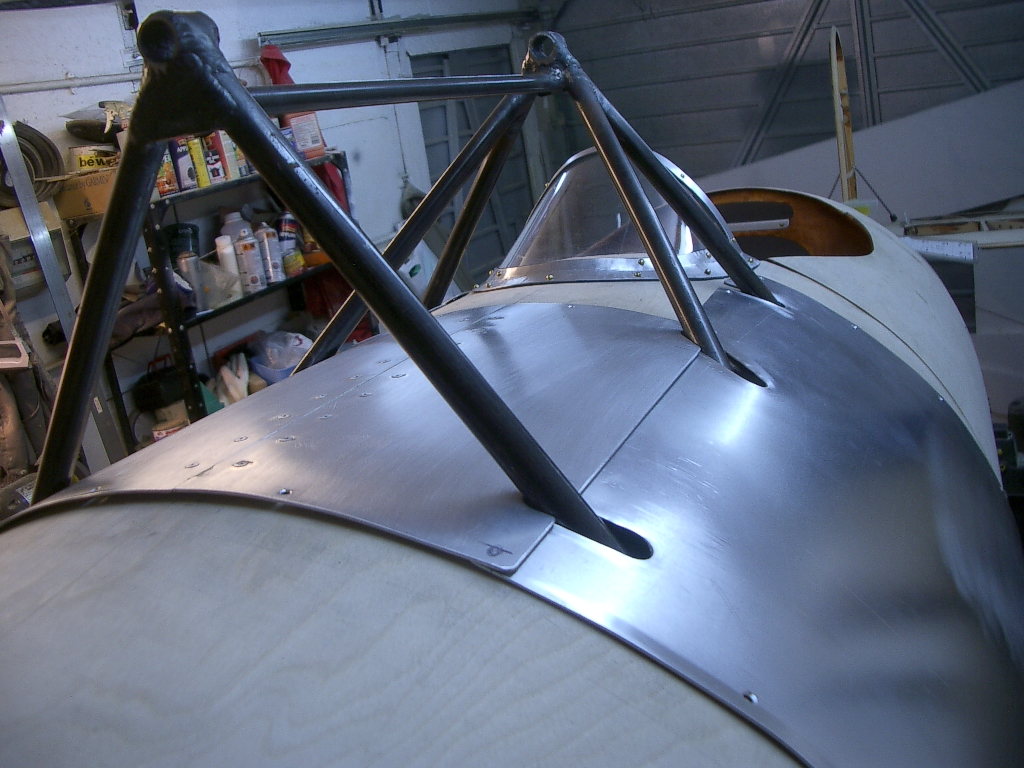
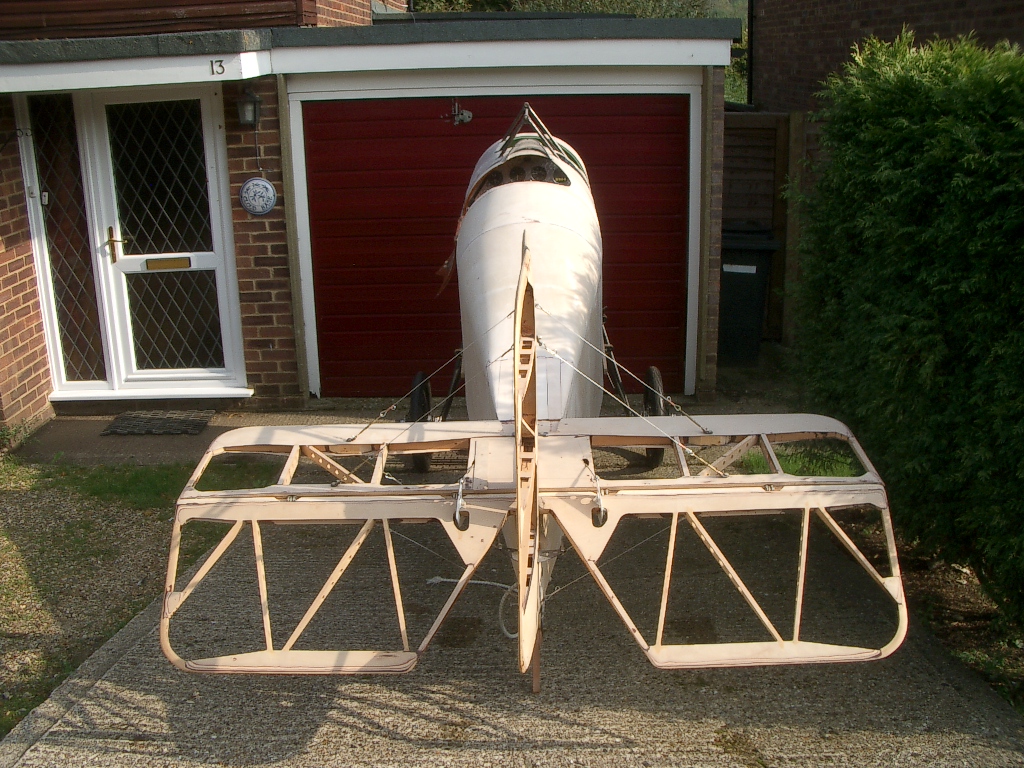
Just some general views of the cabane and inst panel areas. Great relief when it all fitted! Note on later pix how I have relieved the decking to clear the cabane. Its not much,and the extended skins help.
Yes its going to be Massive! I have offered up the gear legs in the last pic to illustrate.
The windscreens are really a case of learning curves. My next attempt will be in the oven,with no hot air blowers in sight. Have you seen the strange shapes achievable in perspex with a hot air blower? I reckon the even heat spread of the oven will be better.
von Schmirk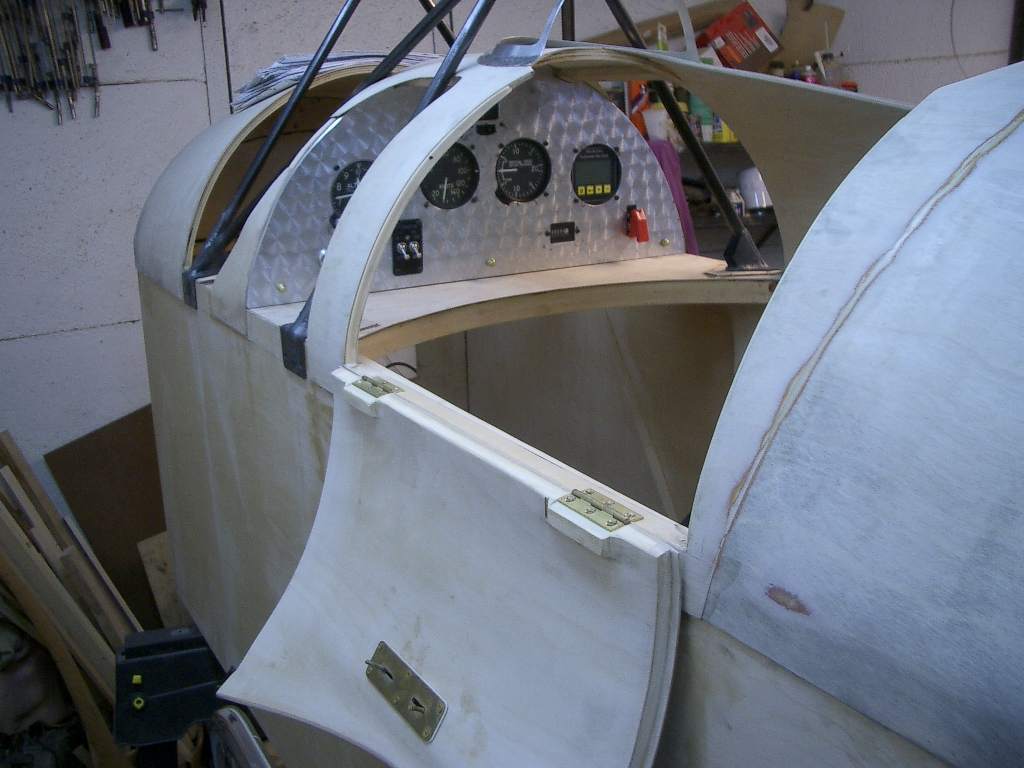 |
 |
 |
 |
 |
 |
May 23, 2006
Hi Group,
Following the visit by Herr Bobka und Baldamus, I felt I should share my progress with the rest of the world of Flitzers. I'm still waiting for my undercarriage to be finished, so I got on with a few peripheral tasks.
von Schmirk. |
 |
 |
 |
 |
 |
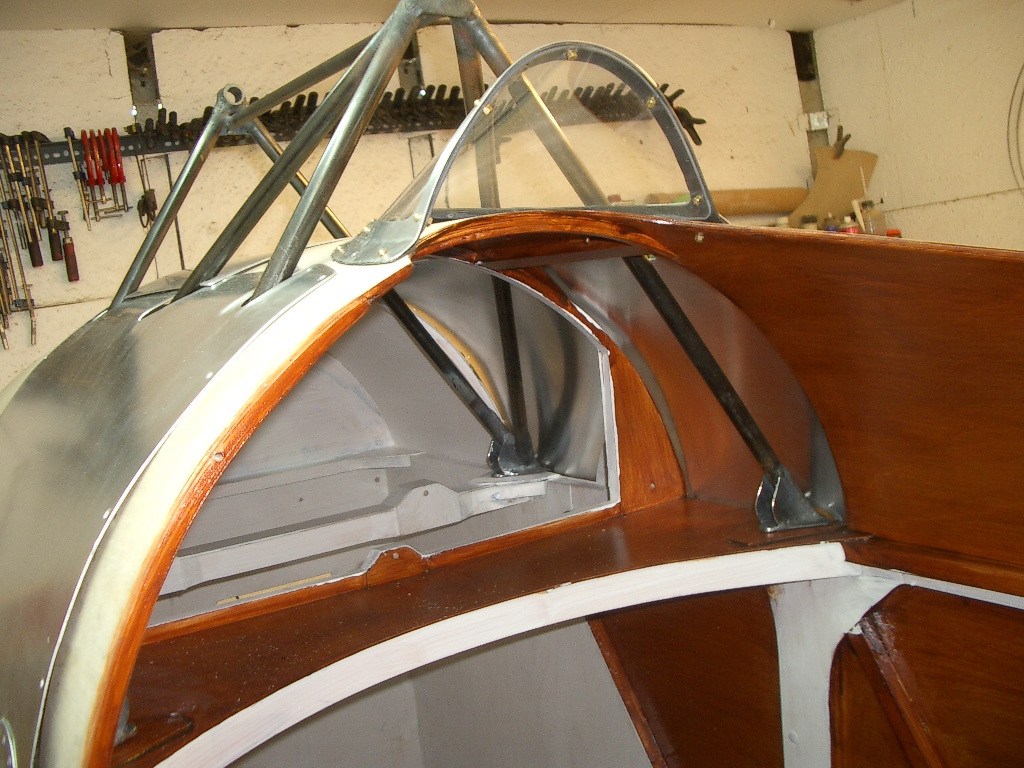
Buy a sheet of commercial grade aluminium, which is thin and soft, about 1/2mm. Mark out the windscreen shape with a sharpie, adding a 1" flange to the long edge. Make sure you have the lower edge of the screen marked inboard of that 1" flange. Mark the finished aperture onto the aluminium and cut it out using a drill to form the corners. The border should be about 3/8" all round the screen. Finish this shape before the next stage. Now,using parallel jaw pliers, start at one end and tweek the flange up along that line about two or three degrees until you complete the line around the long edge. Now, take your hammer, flat face and start beating the flange. You will notice it stretching and it will tend to grow around the curve, while the upright part of the frame will deflect upwards into an arch. Repeat the tweeking and beating until you can offer up the frame and it is symmetrical and sits squarely on the curve.
Now make a false screen from sheet ally, so that your frame sits exactly on top without having to be clipped or forced. This is easily achieved by hand and eye. You end up with an arch sitting on its lower edges.
Carefully cut a shape of perspex 1/2" larger than the shape on Lynn's plans. Find the centre of the short edge and drill a 1/8"" hole. Also drill a 1/8" hole in the ally blank at tha peak of the top curve. Cleco these together and place in the wife's oven, with the perspex uppermost. So, you should now have your curved false alloy screen sitting in the oven with a flat piece of perspex fastened to it. Switch on the oven and continually observe through the glass door. As soon as the perspex droops over the mould, switch off the oven and open the door, allowing it to cool off completely before attempting to move it.
When cool, offer up your perspex to your frame and mark the outline with a sharpie. Now grind the edges using a disc sander (carefully) to fit the frame. Make a rubber gasket from an inner tube using the same outline method, then fettle, fit and drill to secure your screen. It's easy really!
von SchmirkJune 16, 2006
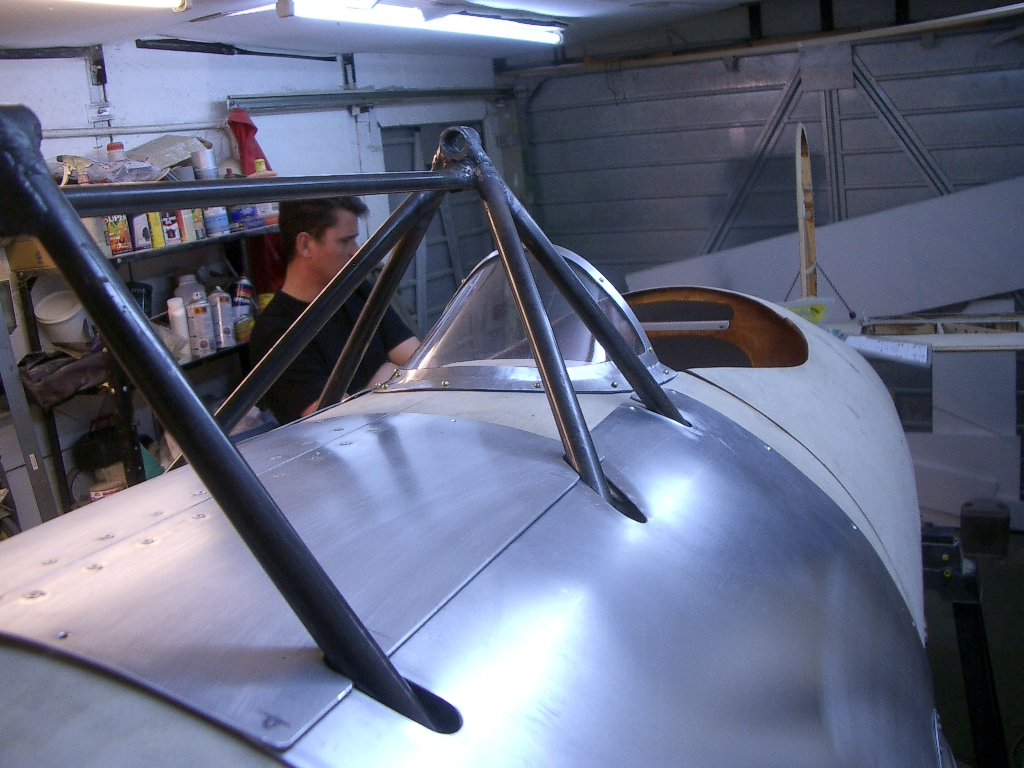
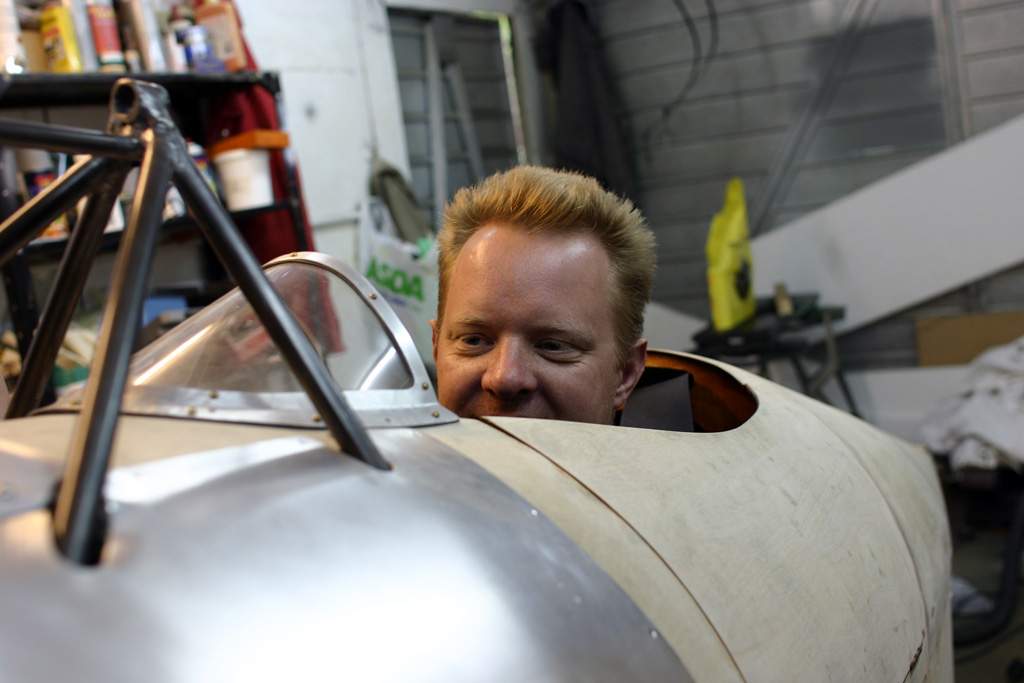
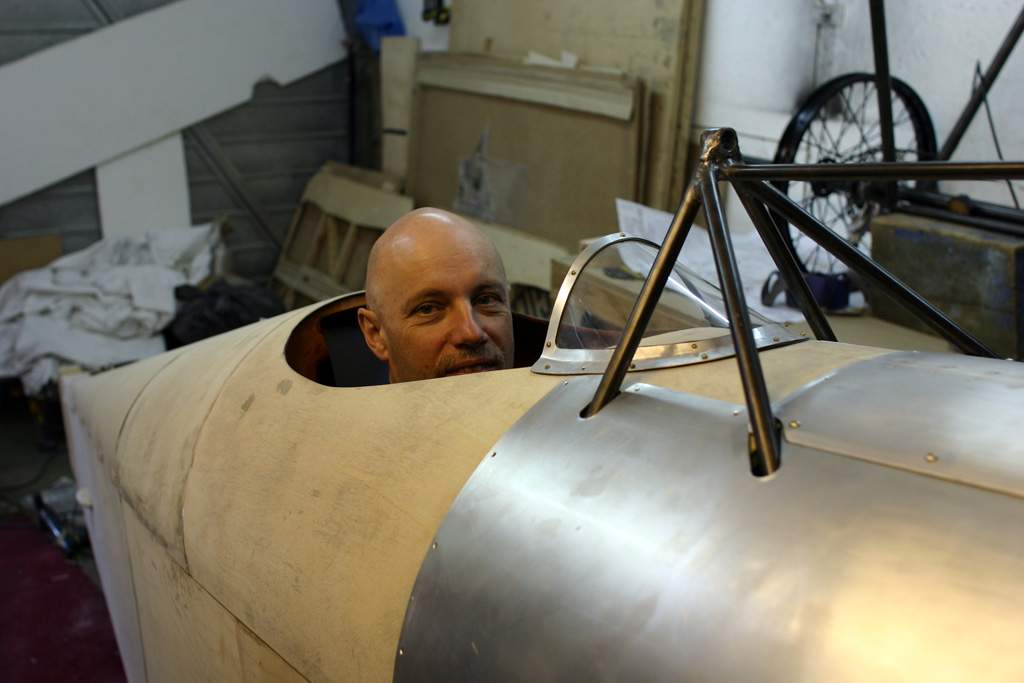
For anyone still dithering,wondering if they will fit, here are my pix of my Z21a with the 2" coaming height increase. I'm 6ft 2in, 225lbs (reducing!)
Chips von Schmirk |
 |
 |
 |
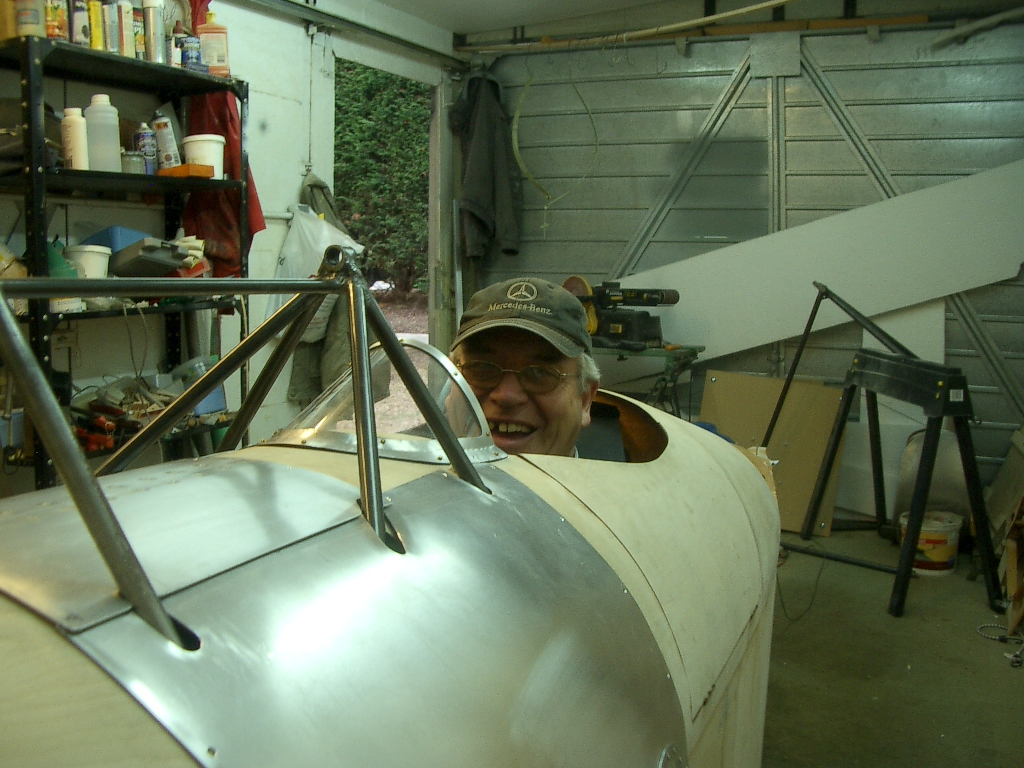
| Ok, I won't be wearing that daft hat when airborne, but noone knows me without it! |
Takes ages to wipe the grin off your face! |
August 23, 2006
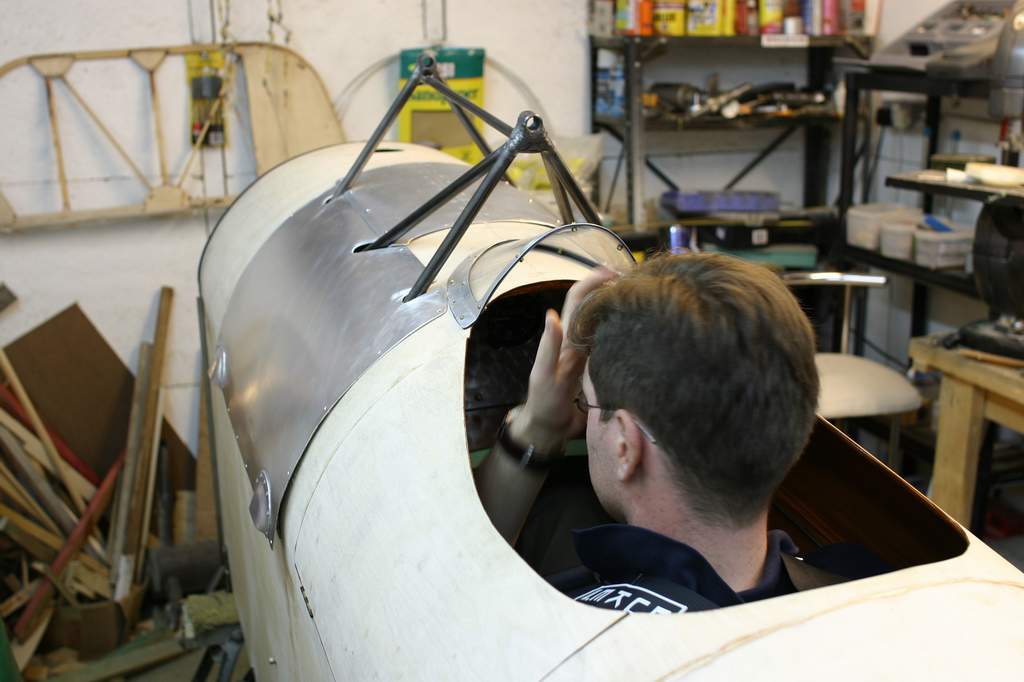
Thanks for letting us try out the ship. The cockpit opening looks really good and hopefully will keep you away from most of the draft.
Thanks for the teaching and all the tips.
Robert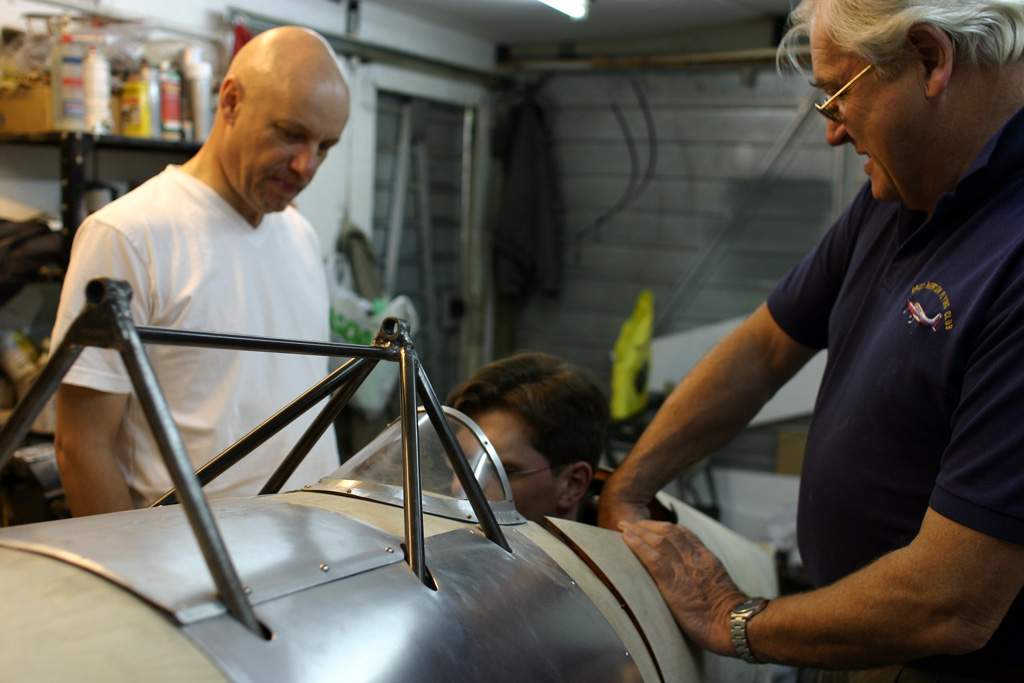 |
 |
 |
 |
October 16, 2006
...here are a few inspirational views to be going on with!
Look, it was sunny,warm and the shed needed clearing out, so out she came. If the garage wasn't full of stuff,I could almost rig the wings! Think I'll aim for that next!
Chips |
 |
 |
 |
|
|
|||||||
| 1 | 2 | 3 | 4 | 5 | 6 | 7 | ||